
Best Method for Cupping Coffee at Home
How to Cup Coffee at Home
At the heart of any coffee roasting operation is “cupping,” the process of tasting, describing, and scoring coffee. Once upon a time, raw coffee was bought and sold based chiefly on aspects of its visual appearance and the attributes of flavor associated with those visuals. These included size and coloring. In the late 19th century, coffee roasters sought more objective and scientific methods for appraising coffee’s value. Then, as now, the price coffee drinkers are willing to pay is based primarily on how the coffee tastes, not how it looks. Roasters wanted to buy green coffee based on the same criteria by which they would sell it roasted: taste. Roaster/importer Hills Brothers was a pioneer in adopting this approach.
Originally known as “cup testing,” the process was standardized over time, and today coffee cupping looks basically like it did 100 years ago. A significant difference today, especially among specialty coffee roasters, is the purpose of cupping. Specialty coffee roasters don’t use cupping only to evaluate quality and understand how flavor profiles will fit into their mix, they use cupping to determine how they will describe a coffee to their customers. But exploring a coffee’s “flavor profile” and learning to describe what you taste is not just an exercise for coffee roasters. It can be a fun learning experience for coffee lovers too!
Those who earn their living buying green coffee spend years developing their skills around cupping coffee, and it can be a highly technical process. Here, we’re going to cover just the basics for cupping coffee at home.
Gathering the Stuff
Professional coffee cuppers have access to fully equipped coffee labs, including “sample roasters” for roasting green coffee and commercial grinders. While you don’t need a coffee roaster, you do need a grinder and it should be a “burr” grinder rather than a “blade” grinder. A blade grinder produces an inconsistent grind and therefore inconsistent brew strength. You might be able to live with this for your morning coffee (something to get you rolling until you reach your favorite coffeehouse where they have … right, a big ‘ol commercial burr grinder). If you’re not looking to level-up to a burr grinder just yet, it is better to purchase ground coffee than it is to use a blade grinder. Better yet, buy coffee at your favorite coffeehouse and have them grind it for you just before you plan to cup the coffee.
Here’s your basic equipment list:
- Grinder Scale with gram setting
- Bullion Spoons
- Tea kettle (stovetop or electric)
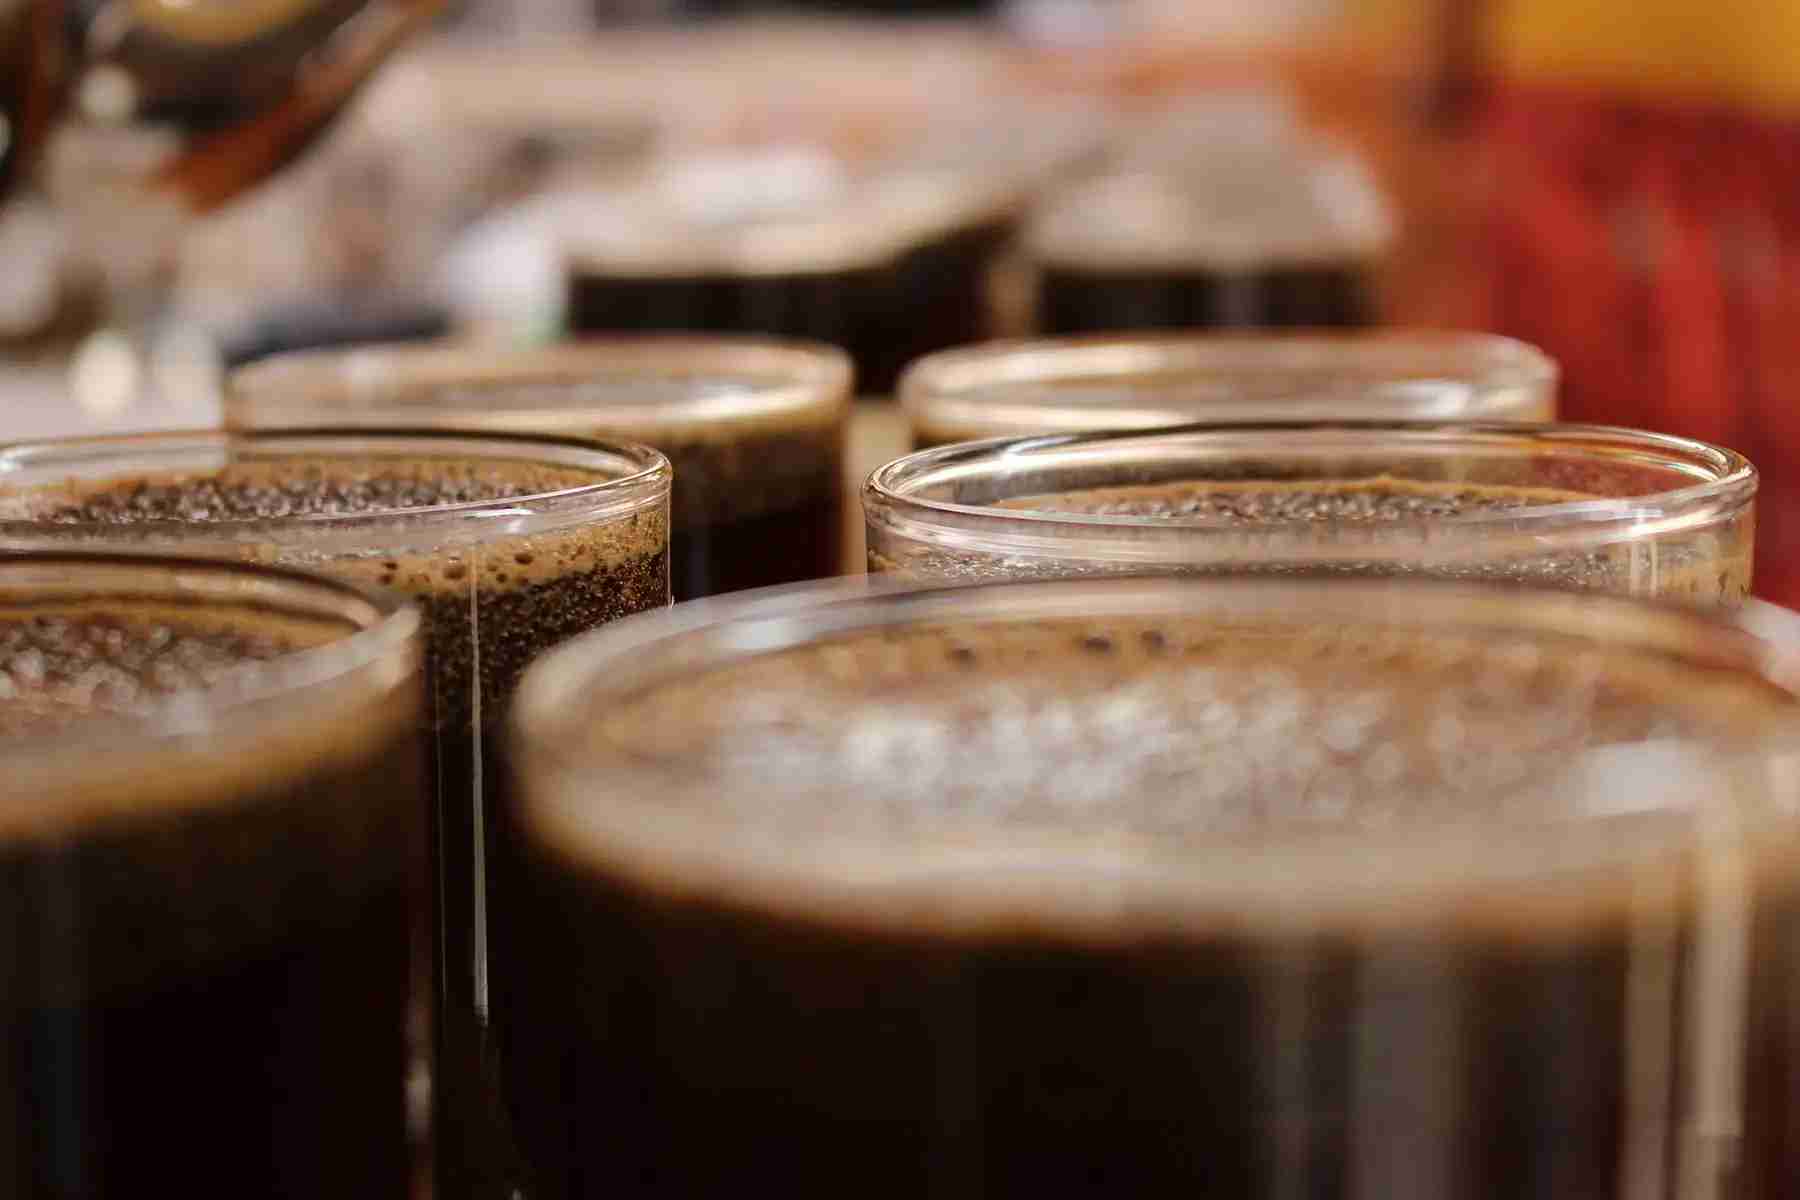
- The cupping “vessels”
Your vessel is ceramic or tempered glass that holds 7-9 fluid ounces and are around 3 inches in diameter. They should all be the same. Bullion, or “soup” spoons can be found at restaurant supply stores or ordered online. You can also order spoons designed specifically for cupping coffee.
Coffee Prep
Buy three or four different single origin coffees for your cupping. Generally, you can cup six samples with a single tea kettle. Single origin means the coffee is not a blend but all from the same country. If you can get them all at a medium roast level, great. If not, don’t worry about it. For our purposes, we are simulating what a coffee roaster refers to as their production cupping, i.e. quality control checks on various roasted products, so different roast levels are okay.
A good mix for comparing and contrasting is one coffee from east Africa (Kenya, Ethiopia, Zambia, etc.), one coffee from Central America (Guatemala, Nicaragua, Honduras, etc.) and one coffee from Indonesia (Java, Sumatra, Papua New Guinea, etc.). If you’re going to add a fourth coffee try India or Brazil if available. But any four coffee growing countries will work.
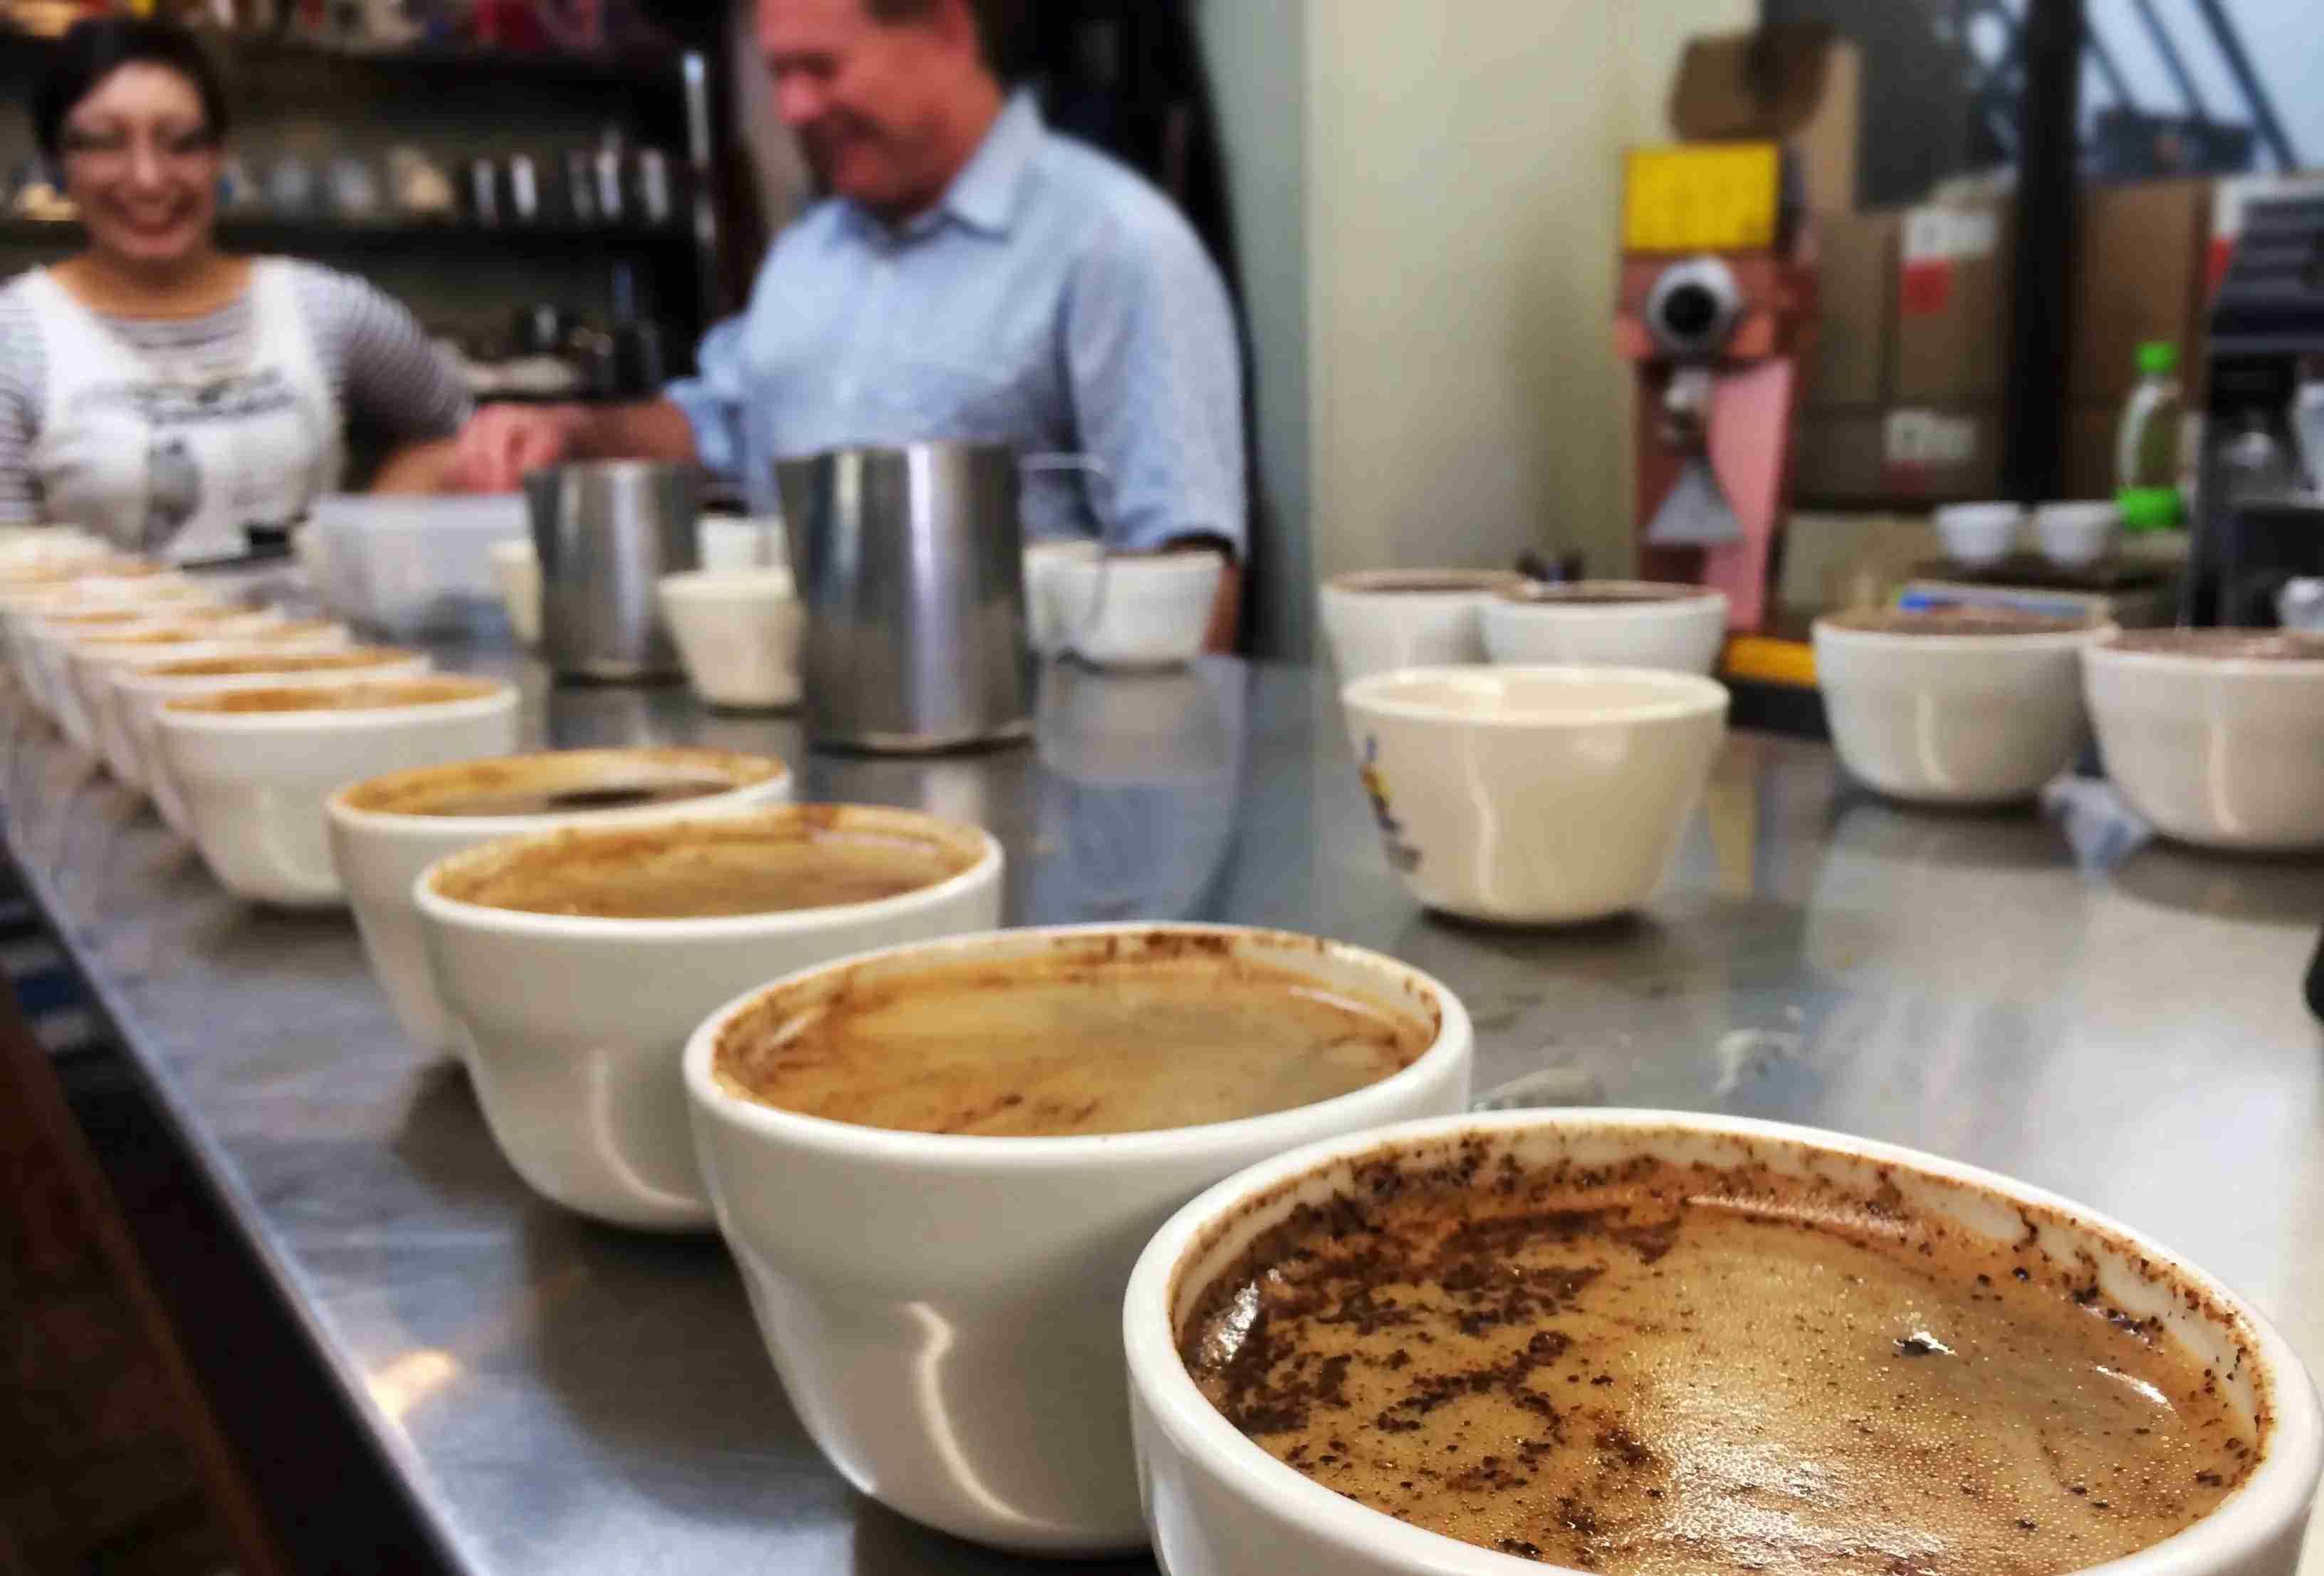
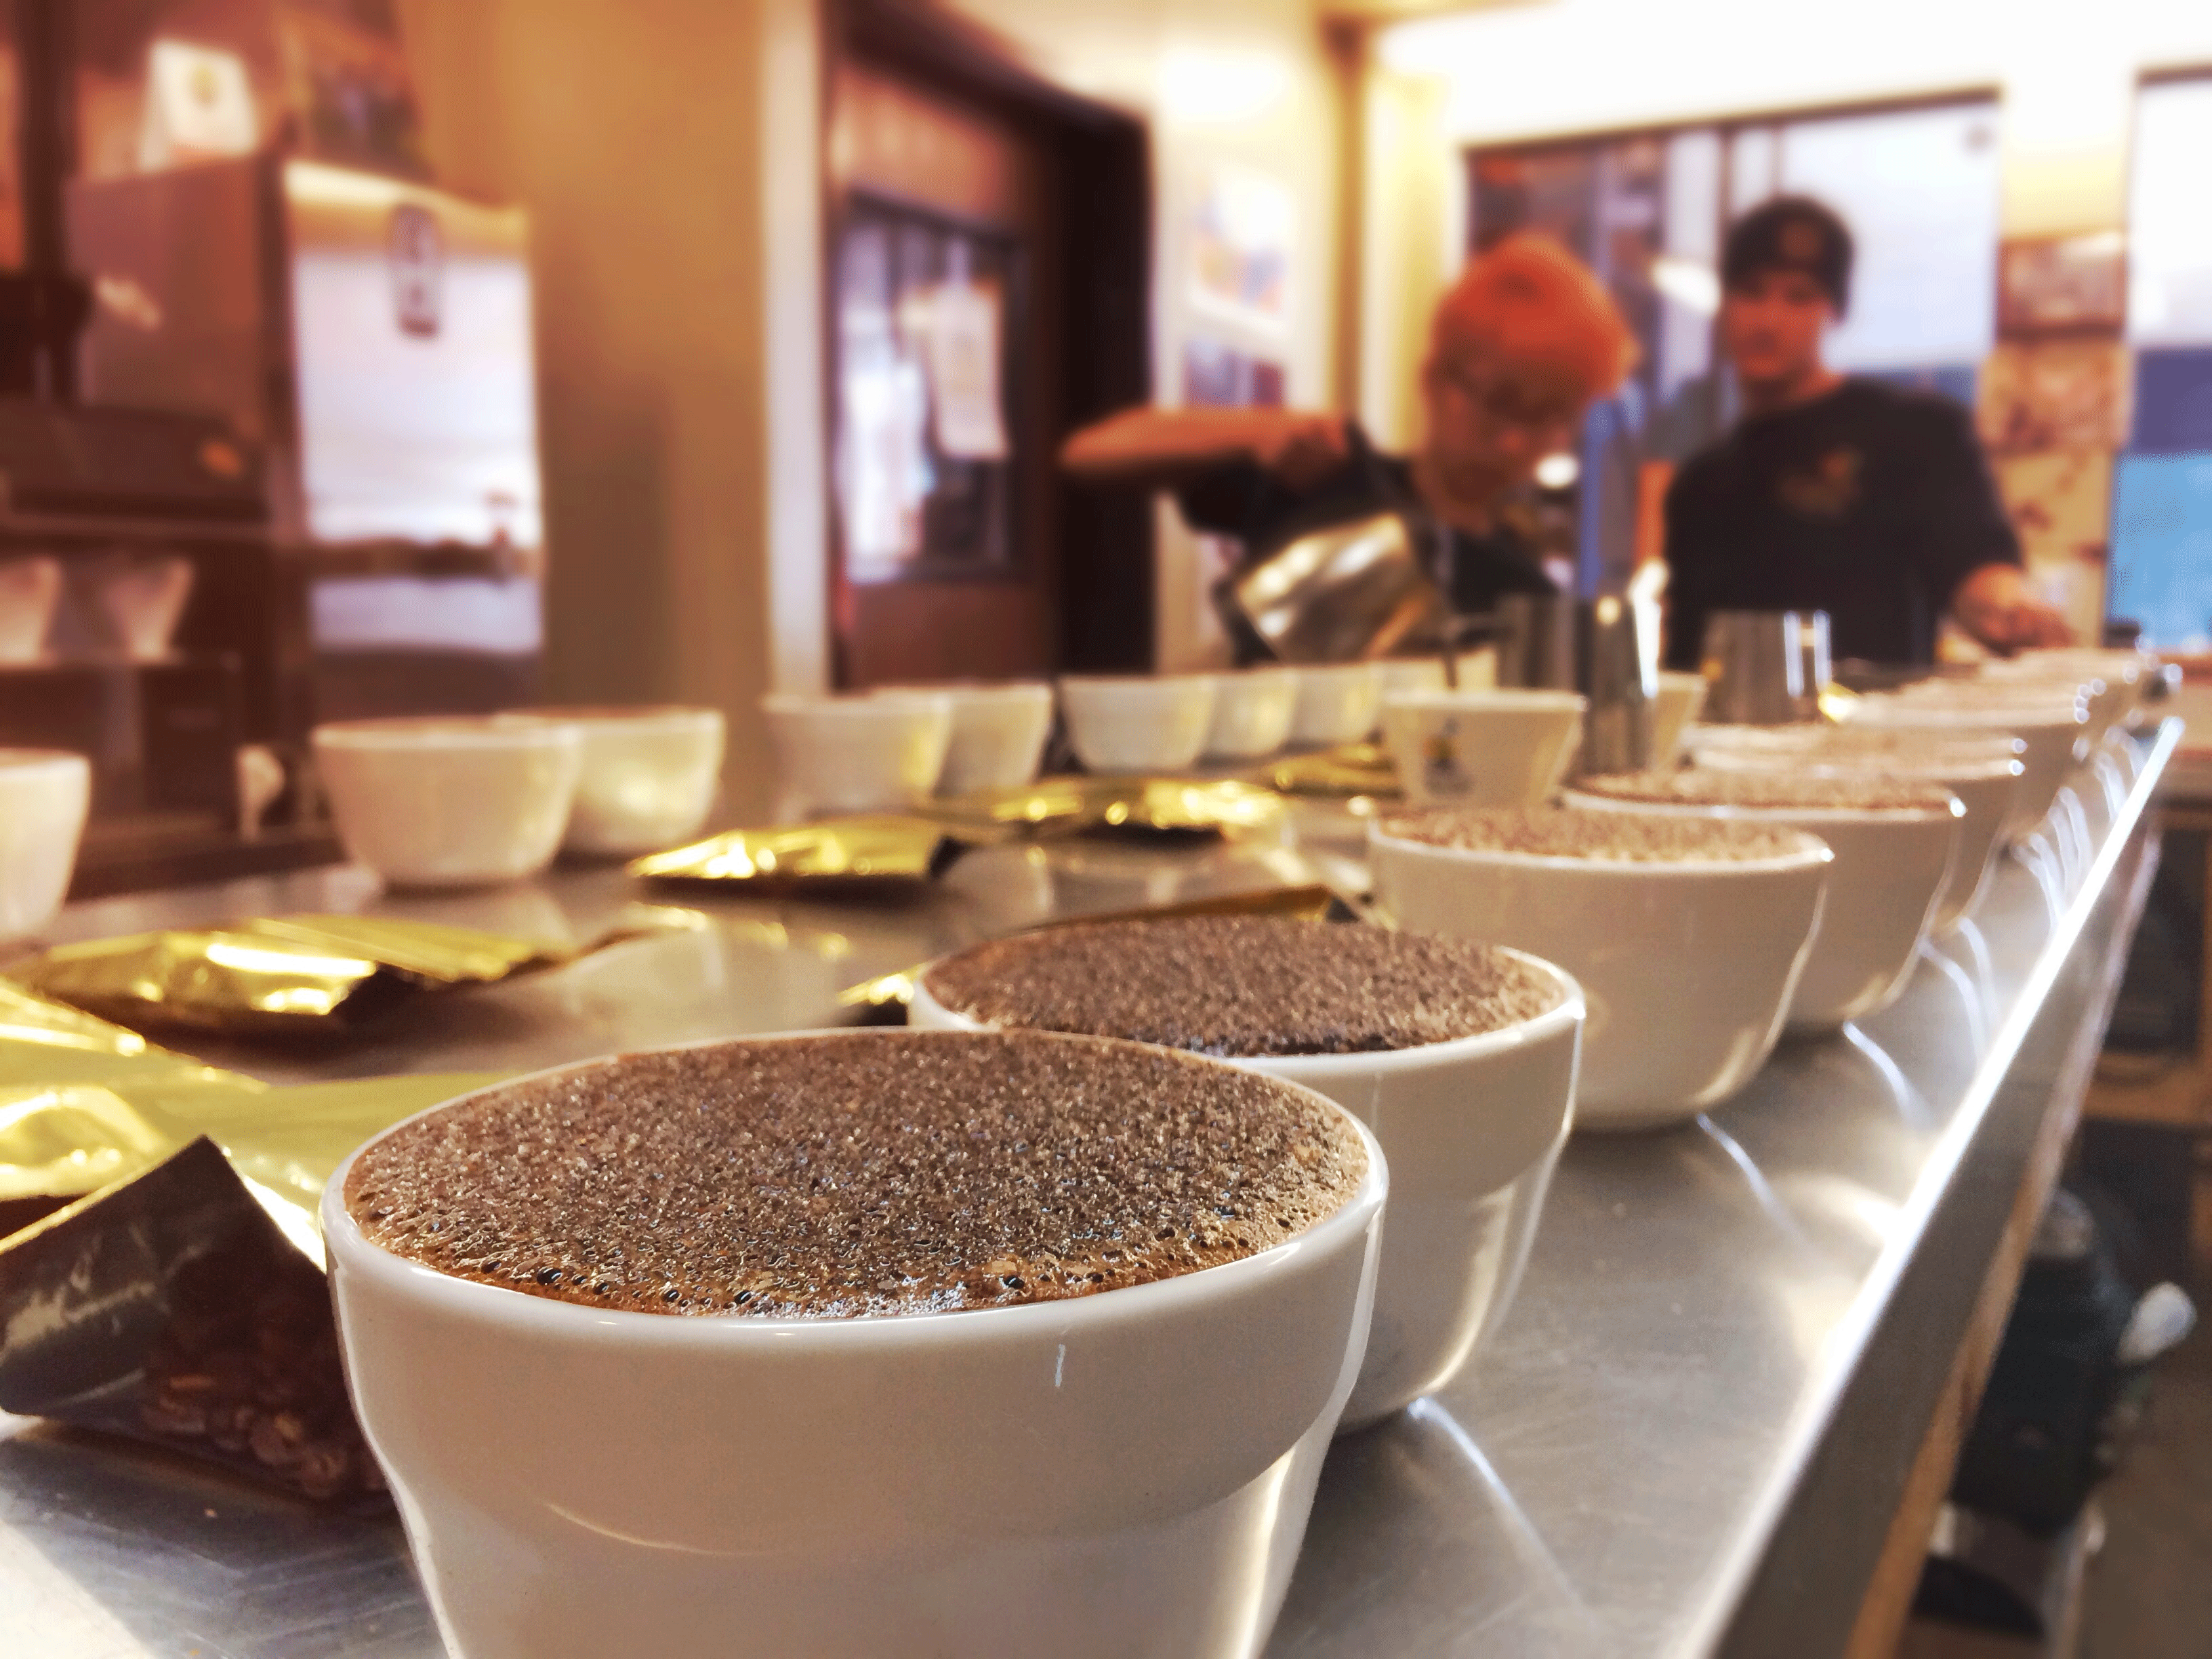
Grind (or have the coffee ground) at a medium grind, which looks like coarse sand. Now, in a professional coffee lab exactitude is critical because standardization across the industry is critical. Sure, there are subjective elements to taste, but it is precisely because taste can be so subjective that we want to keep our other variables as consistent as possible. For your home cupping, however, we want to focus on experiencing the coffee, so approximations as you prepare your samples are fine. Put 8-10 grams (approximately 0.3 ounces) of ground coffee into each cup or bowl.
What Do the Dry Grounds Smell Like?
Start boiling your water; while it heats, the first thing you want to do is evaluate the “dry fragrance” of the coffee by sniffing the grounds. Take notes. Don’t worry about “right” or “wrong” descriptors. Write whatever you think you smell, even if you’re not sure you’re naming the right thing. Writing something down is more important than what you write and whether or not anyone else will smell the same thing. Do this for each coffee on your table.
What Do the Wet Grounds Smell Like?
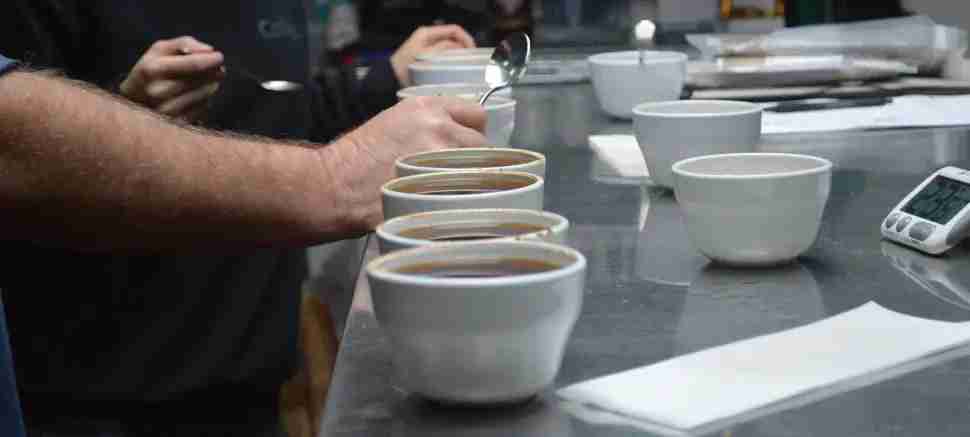
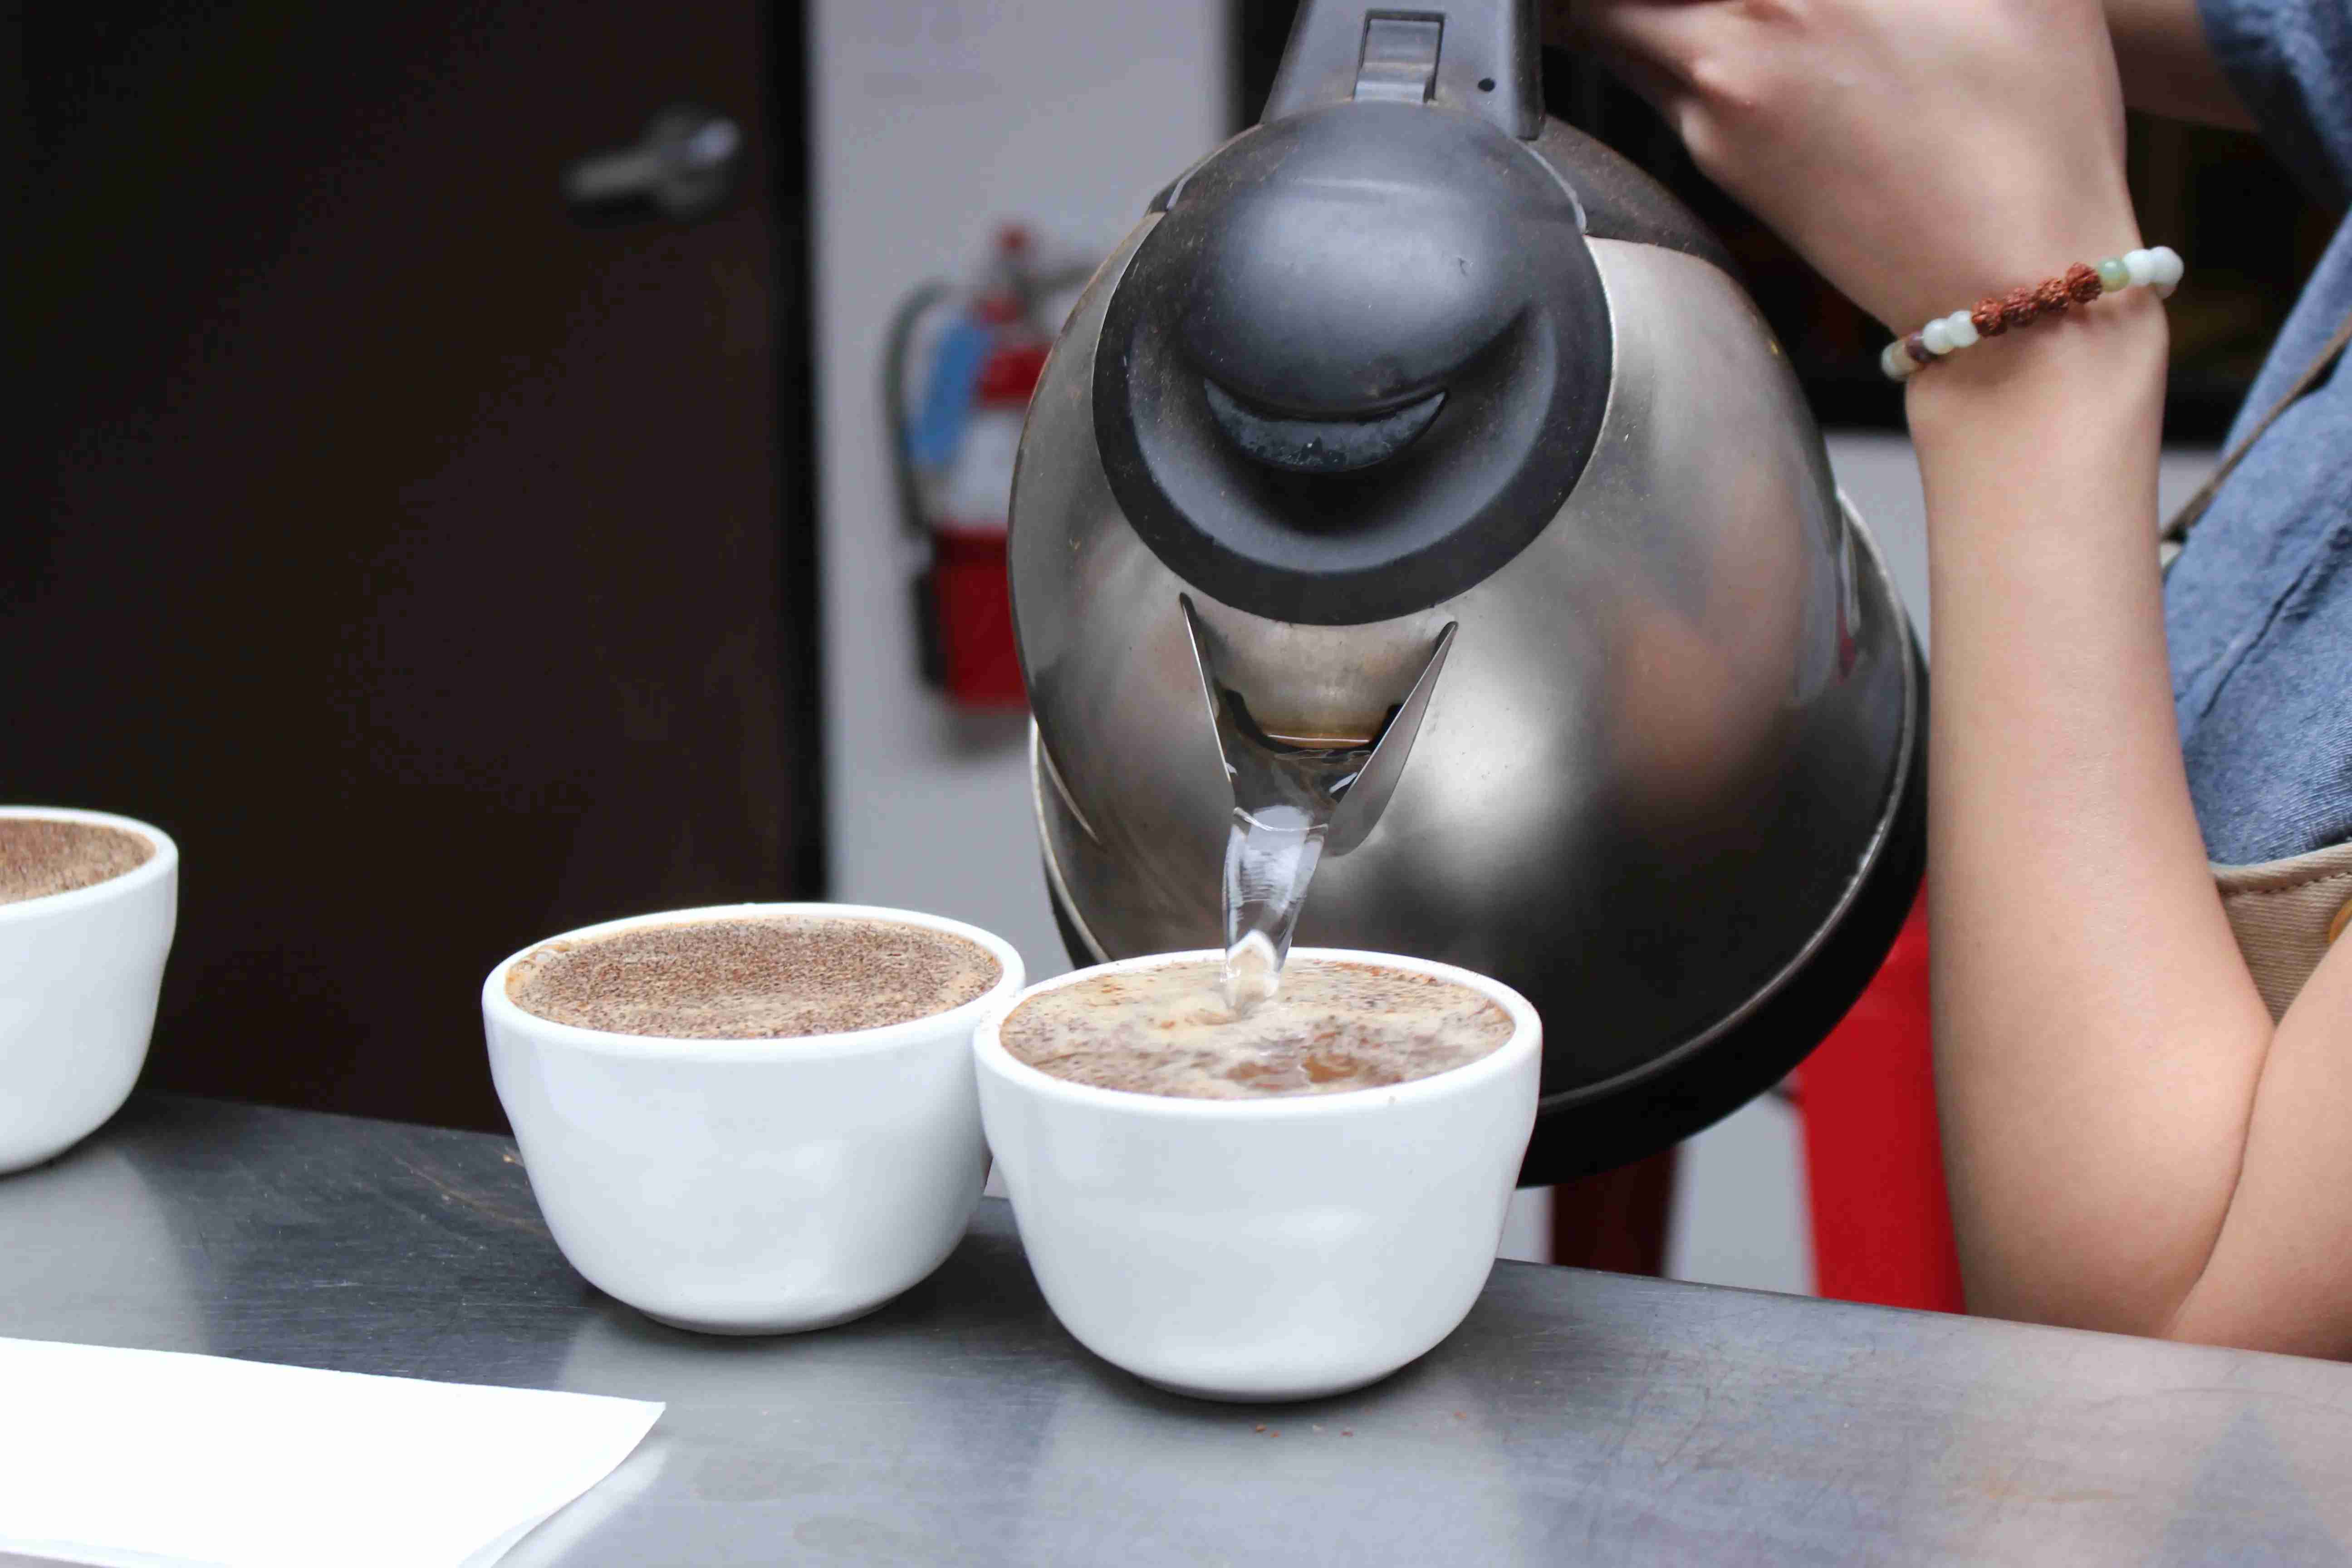
You want to pour 150 ml of water (about 5 fluid ounces) “just off the boil,” (around 200°F / 93°C) over the grounds in each cup. After four minutes or so you’ll notice a crust of coffee grounds has formed on top of each cup. With the back of your soup spoon, push the grounds aside while sniffing the coffee. Get your nose good and close as you “break the crust”; many of the coffees aromas are released at that moment. Make sure all of the grounds have been broken up completely. Again, write down what you smell and, again, don’t worry about it. Remember to rinse your spoon between each coffee to avoid mixing them together. A good way to do this is by keeping a glass of the rest of the water from the tea kettle on the table so you can rinse by dipping.
Removing the Grounds
This step can take a little practice, so don’t worry about getting it just right. When you “break the crust,” the coffee grounds will sink to the bottom of the cup, but a caramel-colored foam will remain floating on the surface. Professional cuppers use two spoons, held vertically, to corral that residue into one area and lift it all out at once; at home, just cleaning the surface of the coffee of any remaining foam is fine. Don’t forget to rinse your spoon between coffees!
Finally, Taste the Coffee
If at least 10 minutes have passed since you first poured water onto the grounds, the coffee should be cool enough to taste. You want to bring a spoonful of coffee to your lips and slurp it into your mouth like a rude dinner guest eating soup. But if you’re cupping coffee, it’s not rude, it’s aspirating, which cools the coffee and spreads it over as many taste buds as possible. Remember to rinse your spoon after each cup and then … you guessed it, write something down!
Professional coffee cuppers typically taste many coffees at one time, so they will spit the coffee out into a spit cup or spittoon to avoid getting over-caffeinated. If you’re only cupping a few coffees, there’s no need to spit. If you plan to set up a few rounds, you might want to use a spit cup to keep the caffeine at bay.
You’re Not Done
After your first round of slurping, let the coffees cool for another five minutes or so and then taste them again. As everyone who has lingered longer over a Saturday morning coffee knows, the flavor of coffee changes as it cools. You’ll discover new things about the coffee as the temperature changes. Write them down.
If you enjoyed your first cupping but you wish you had more words to describe what you were tasting, take a look at the Specialty Coffee Association’s Coffee Taster’s Flavor Wheel and the World Coffee Research Sensory Lexicon. Also, check out the following resources available from Olam Specialty Coffee:
Article credit : Heidi Cohen ( https://heidicohen.com/use-blog-to-sell/ )